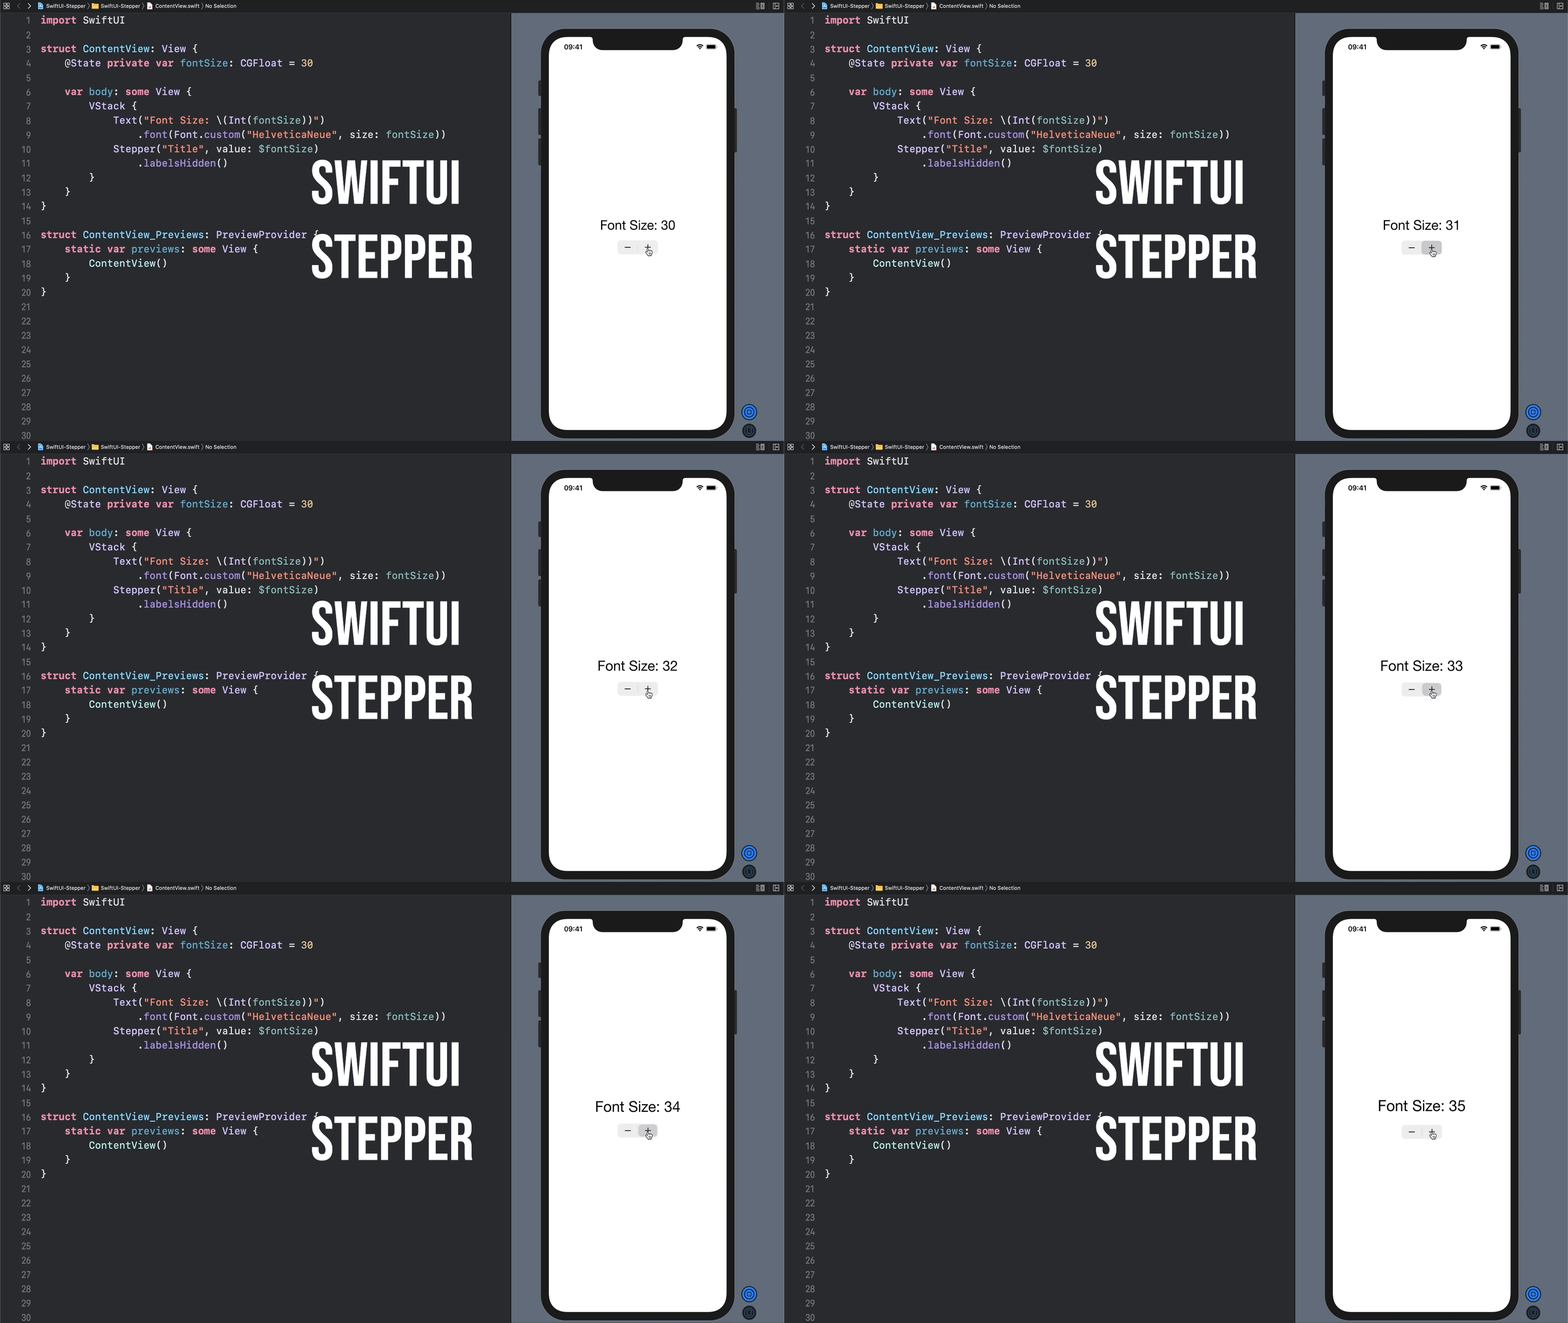
Steppers in SwiftUI
Steppers are really useful if you want to give a user +/- buttons to change a specific value like volume, font size, etc.
Let’s take a look at how to use a Stepper to update the font size of some Text in SwiftUI.
Setting Up
There are 3 things we’ll need: A state property to keep track of the font size, some text, and our Stepper. So to start out add a state property for the font size and put some Text in a VStack (this is so we can add the Stepper right below the Text).
@State private var fontSize: CGFloat = 30

var body: some View {
    VStack {
        Text("Font Size: \(Int(fontSize))")
            .font(Font.custom("HelveticaNeue", size: fontSize))
    }
}
I went with Helvetica Neue for my font because who doesn’t love a font name nobody can pronounce correctly? Feel free to use whatever font you’d like, though!
Adding a Stepper
To instantiate a Stepper you need two things:
A label
A binding to a state property
The label is a helpful bit of text to display that describes what the Stepper controls, and is super useful for accessibility readers. Don’t worry, you can always hide it later by adding the .labelsHidden() modifier!
Add the following to your VStack:
Stepper("Title", value: $fontSize)And that’s it! Now you have a Stepper that updates your fontSize property to control your view.


