Horizontal Scrolling in SwiftUI
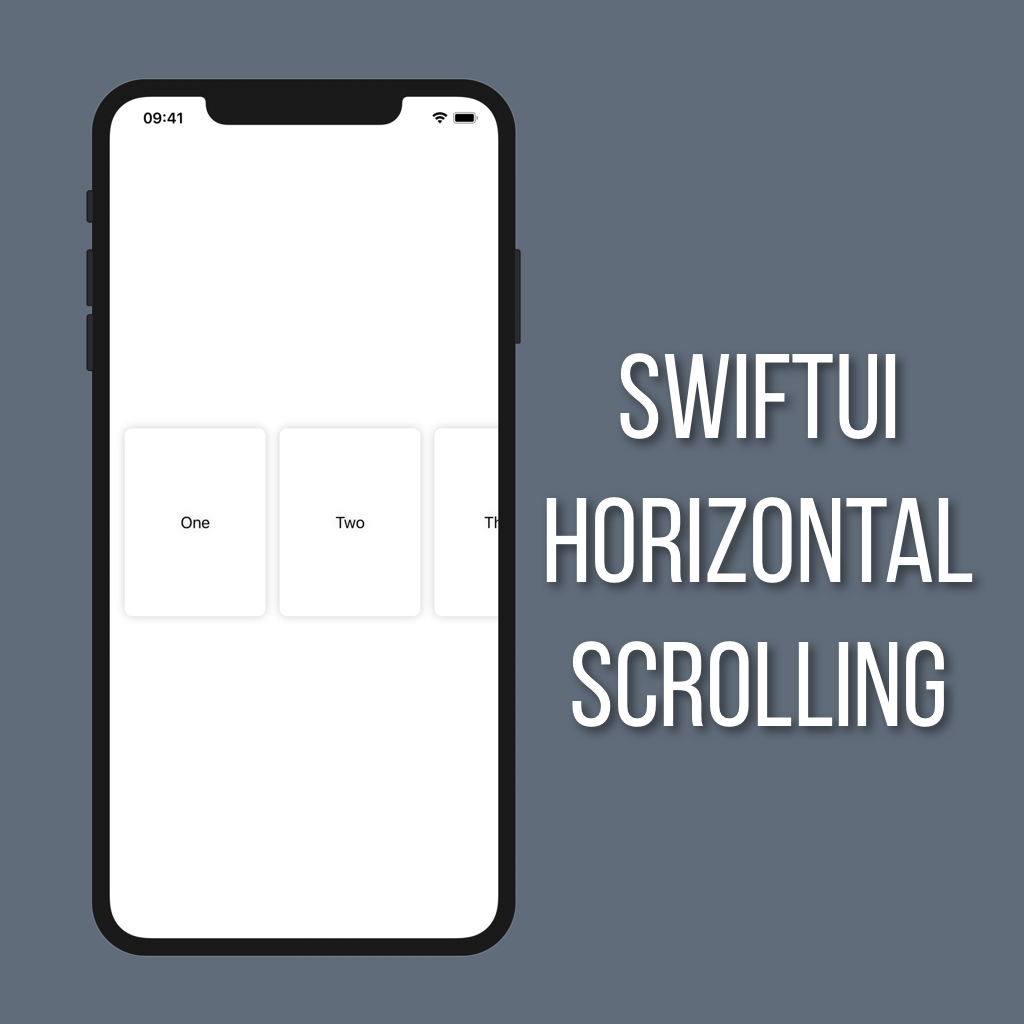
Lists are great for displaying vertically scrolling collections of data. But what if you want something that scrolls horizontally? There isn’t a fully native SwiftUI version of UICollectionView yet, so for the time being you have to get a little creative using a combination of ScrollView and HStack.
The card view
First off, we’re going to need a view to use for our “rows.” Here is the one I will be using in this tutorial:
struct CardView: View {
    @Binding var title: String

    var body: some View {
        ZStack {
            Color.white
                .cornerRadius(8)
            Text(title)
        }
        .frame(width: 150, height: 200)
        .shadow(color: Color.black.opacity(0.2), radius: 5, x: 0, y: 0)
    }
}
If you want to learn more about creating custom rows for List views (and for this horizontal scrolling view) you can check out my tutorial on creating custom List rows here.
Creating the ScrollView
Now that we have our CardView we can get started on building up a View to display them. First thing, of course, is that we’ll need a property for the strings that will be displayed in each CardView.
@State var items: [String]Now all that’s left to do is create an HStack of CardViews, then wrap that up in a ScrollView. Switch the ScrollView’s scroll direction to .horizontal and you’re all done!
var body: some View {
    ScrollView(.horizontal) {
        HStack(spacing: 15) {
            ForEach(0..<items.count) {
                CardView(title: self.$items[$0])
            }
        }
        .padding()
    }
}
One thing to note is that I added padding() to the HStack rather than the ScrollView. If you add padding() to the ScrollView then you’ll end up with gaps on the left and right, which just looks weird when scrolling. Adding it to the HStack will add padding around all of the cards, but still allow your ScrollView to extend to the edges of the screen.
Check out some other recent tutorials


