How to Push a Detail View Using NavigationLink
By far the most common navigation pattern in iOS apps is when you tap a button and it pushes a new view in. But how do you do that in SwiftUI?
NavigationView and NavigationLink
To manage a navigation stack like this in UIKit you use a UINavigationController and push UIViewControllers onto it. To do the same thing in SwiftUI you use what is called a NavigationView. Then you can use a special kind of button called NavigationLink with a detail view to automatically handle navigation for you.
Setting Up
To get started we’ll need to create two views; one for the root view and one for the detail view.
struct RootView: View {
    var body: some View {

    }
}

struct DetailView: View {
    var body: some View {
        Text("Detail View")
            .font(.title)
    }
}
I got super creative with my detail view and put some text in it saying that it’s the detail view, but you can really do whatever you’d like with yours!
Pushing into the DetailView
OK so now that we have our DetailView created we’ll first need to add a NavigationView to our RootView:
struct RootView: View {
    var body: some View {
        NavigationView {

        }
    }
}
Now everything inside of the NavigationView will be part of the root of our navigation stack.
All that’s left now is creating a NavigationLink to tell our app to navigate to our DetailView when it is tapped. A NavigationLink takes two arguments; a destination View and a View for the look of the button. To keep things simple we’ll just use a Text button. Add the following inside of the NavigationView:
NavigationLink(destination: DetailView()) {
    Text("Push Detail")
}
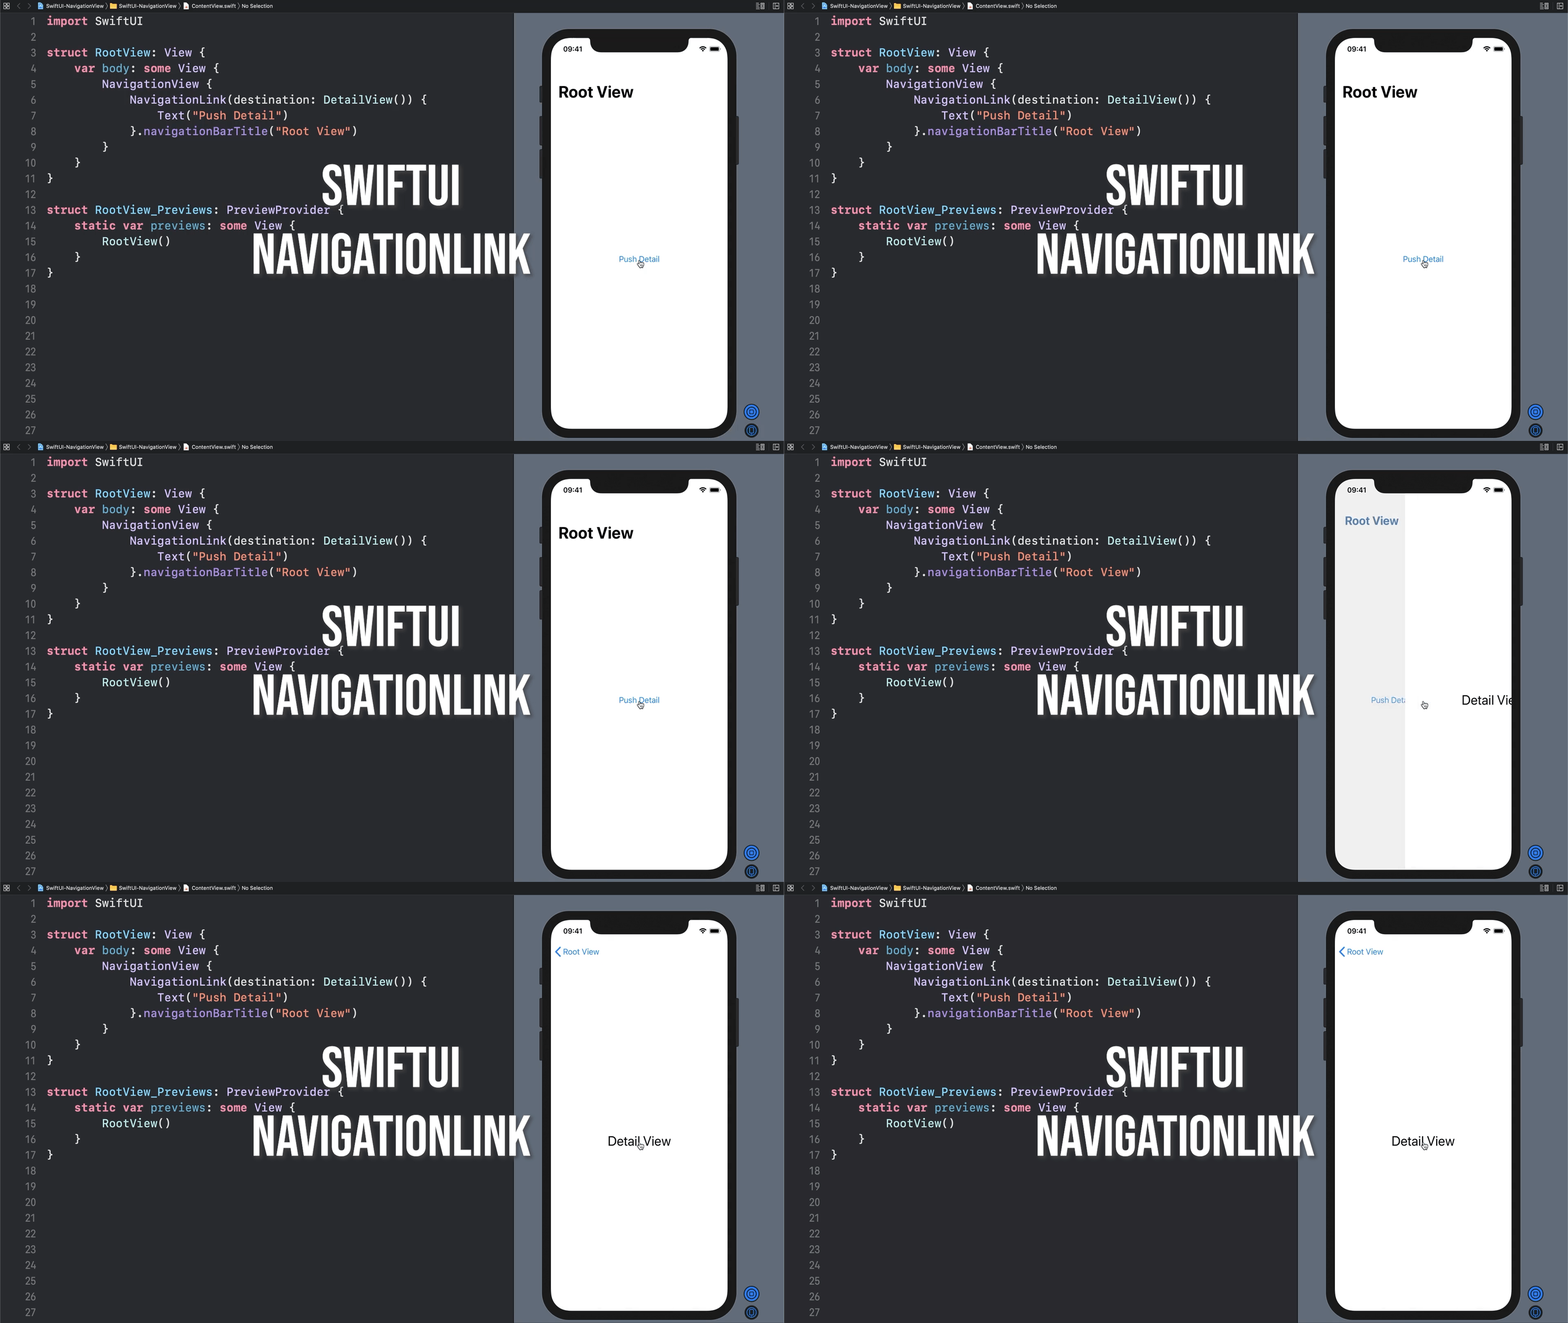
That’s all it takes to create a button that pushes a new view! If you test it out you should see that there is a button in the middle of the RootView, and if you tap it your DetailView will push onto the screen. You should also see a back button automatically added when your DetailView pushes, allowing you an easy way to pop back to the RootView.
One thing to note is that as of the writing of this post there is a bug in both the simulator and preview window where it only allows you to push and pop once. You can get around it for now by building to a device, or you can wait for the next Xcode release which I have heard has a fix for this bug.
Here’s the full code, with a little bonus navigation bar title added:
struct RootView: View {
    var body: some View {
        NavigationView {
            NavigationLink(destination: DetailView()) {
                Text("Push Detail")
            }.navigationBarTitle("Root View")
        }
    }
}

struct DetailView: View {
    var body: some View {
        Text("Detail View")
            .font(.title)
    }
}


