How to Use Buttons in SwiftUI
You know what nobody wants? An app that has no buttons! Lucky for us adding buttons in SwiftUI is quick, easy, and in my opinion better than adding UIButtons (don’t @ me).
There are two main parts of a SwiftUI Button:
An action
A View
Button(action: {
    // Action
}) {
    // View
}
When creating a Button you pass it two different closures. The first one is for the action, and can be any void block of code. The second one is a View that basically describes how the button is supposed to look.
@State private var rectColor = Color.blue

var body: some View {
    VStack(spacing: 50) {
        Rectangle()
            .frame(width: 200, height: 200)
            .foregroundColor(rectColor)
        Button(action: {
            self.rectColor = self.rectColor == .blue ? .orange : .blue
        }) {
            Text("Button")
        }
    }
}
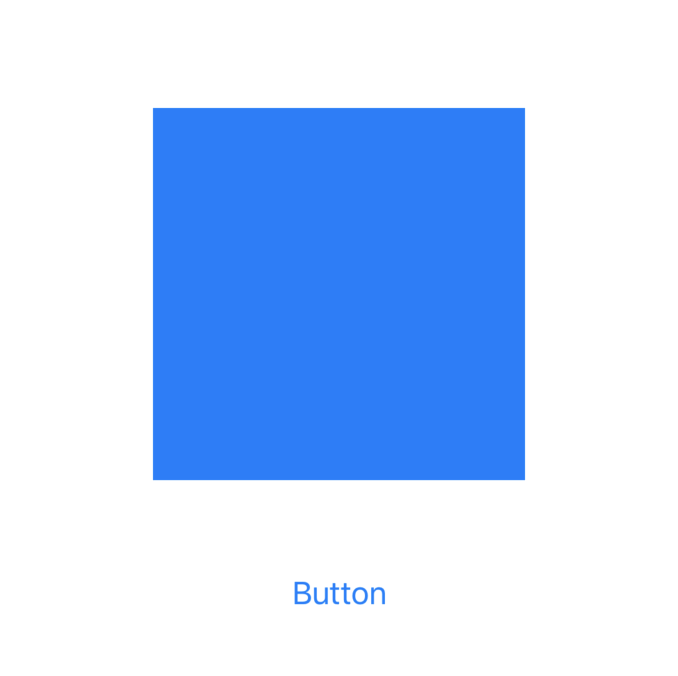
Here’s an example that adds a rectangle to the view that changes color when you tap the button. The Button has an action that updates a state property for the rectangle’s color, and its appearance is set to some Text that just says “Button”. Here’s how the code above looks:
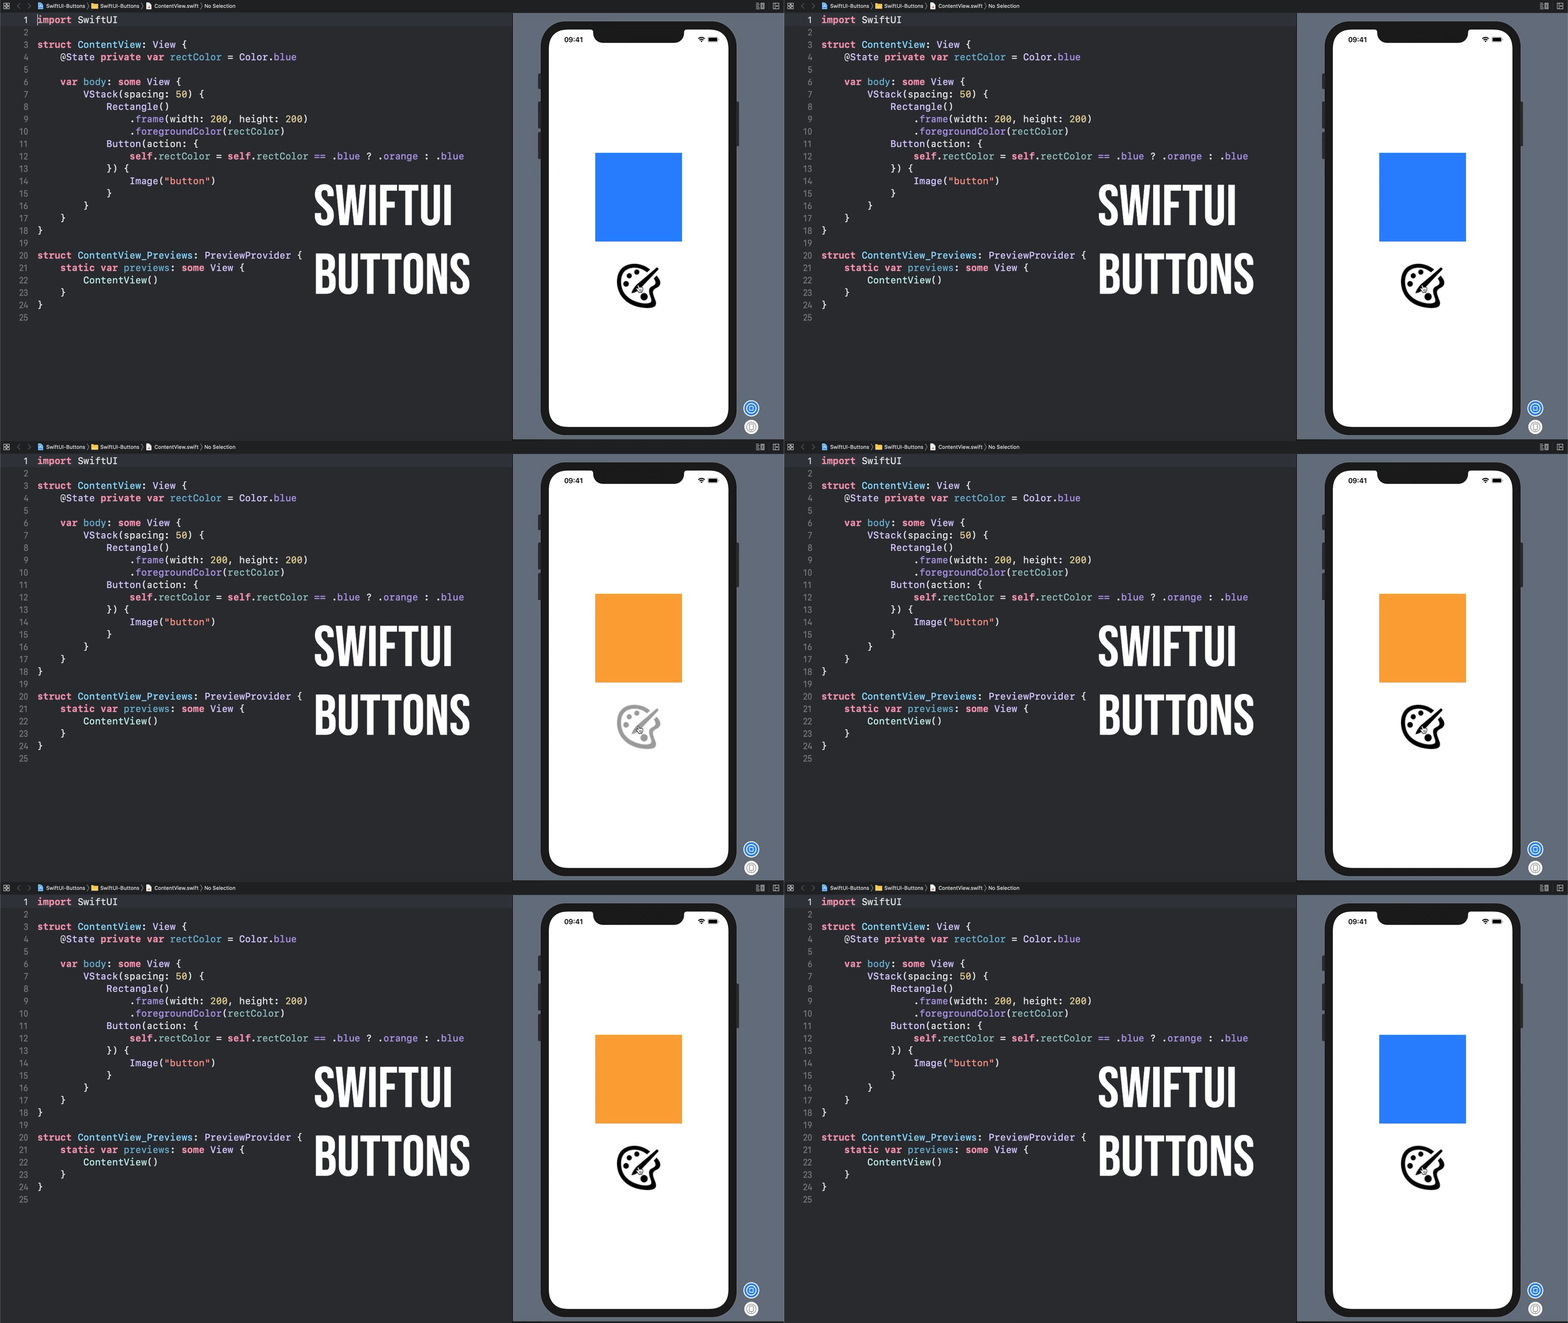
But what if you don’t want a button that is just text? What if you want something fancier. Something like… an image. Well since Buttons take any type of View all you’d need to do is update your button to use an Image:
Button(action: {
    // ... action
}) {
    Image("button")
}

